 |
| photo credit: mysimplelittlepleasures.blogspot.com |
This is going to be just a random post.
I gave myself a water-marble manicure! I know many people don't know how to do it or even what it is. So I'm going to tell you what it is and how to do it; it's a technique of painting your nails using water.
What you'll need:
-A cup or bowl (or anything you can dip your fingers in)
-2 different nail polish colors
-Napkins (preferably 3)
-Toothpicks (preferably 5)
-Nail polish remover
-Q-tips
-Bottled water (optional)
-Petroleum Jelly or Chapstick
Step 1- Fill your cup or bowl with the bottled water, tap water is fine. Make sure it's room temp.

Step 2- Apply the petroleum jelly or chapstick all over your finger; front back and sides, down to your first knuckle. Avoid applying it to your actual nail. And only apply to one or two fingers at a time.

Step 3- Take the lighter color of the two nail polishes and apply it to all your nails. Including the ones with chapstick.
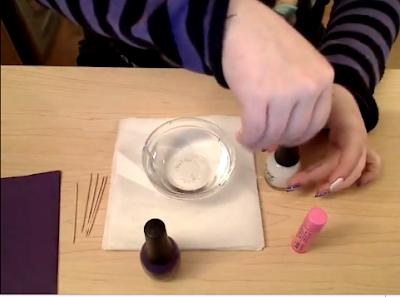
Step 4- Once that's dry, take either of the two polishes and drop a drop of it in the water. Then take the other polish and do the same. Continue this pattern at least three more times. Make sure you do this step quickly. You don't want to let it dry.
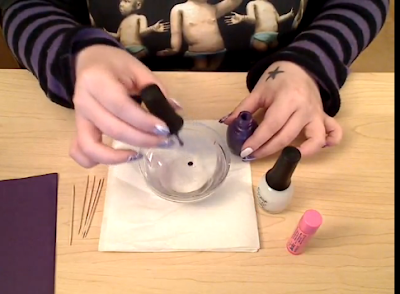
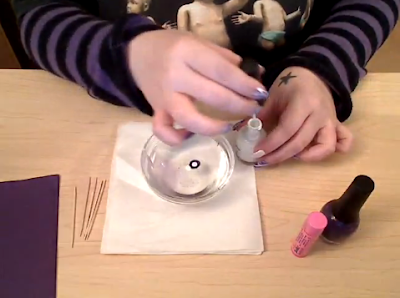

Step 5- Take the toothpick and move the nail polish around in the water. You want to create a pattern for your nails.
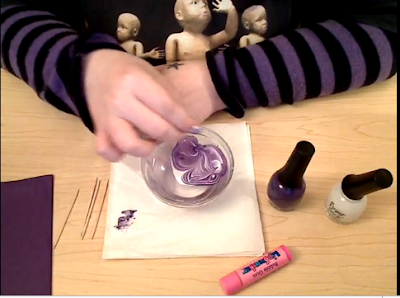
Step 6- Dip your fingernail directly into the pattern. Just pick which area you want to use.
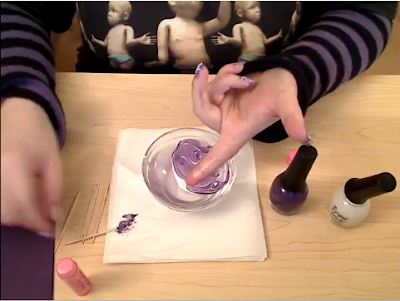
Step 7- Take a toothpick and pick up the extra nail polish left in the water that is not on your nail.
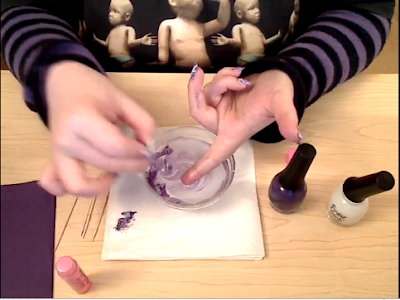
Step 8- Take a napkin and remove the excess polish off your skin.
Step 9- Apply chapstick to another finger and repeat the above steps. Do this until you have painted all your fingernails.

Step 10- Use the q-tips and nail polish remover to clean up the edges of your fingers.
Step 11- OPTIONAL: Apply a top coat to your nails, if you'd like longer lasting polish.
Need more help? Watch this video. Please read the description first.